Sourdough Matcha Cinnamon Rolls
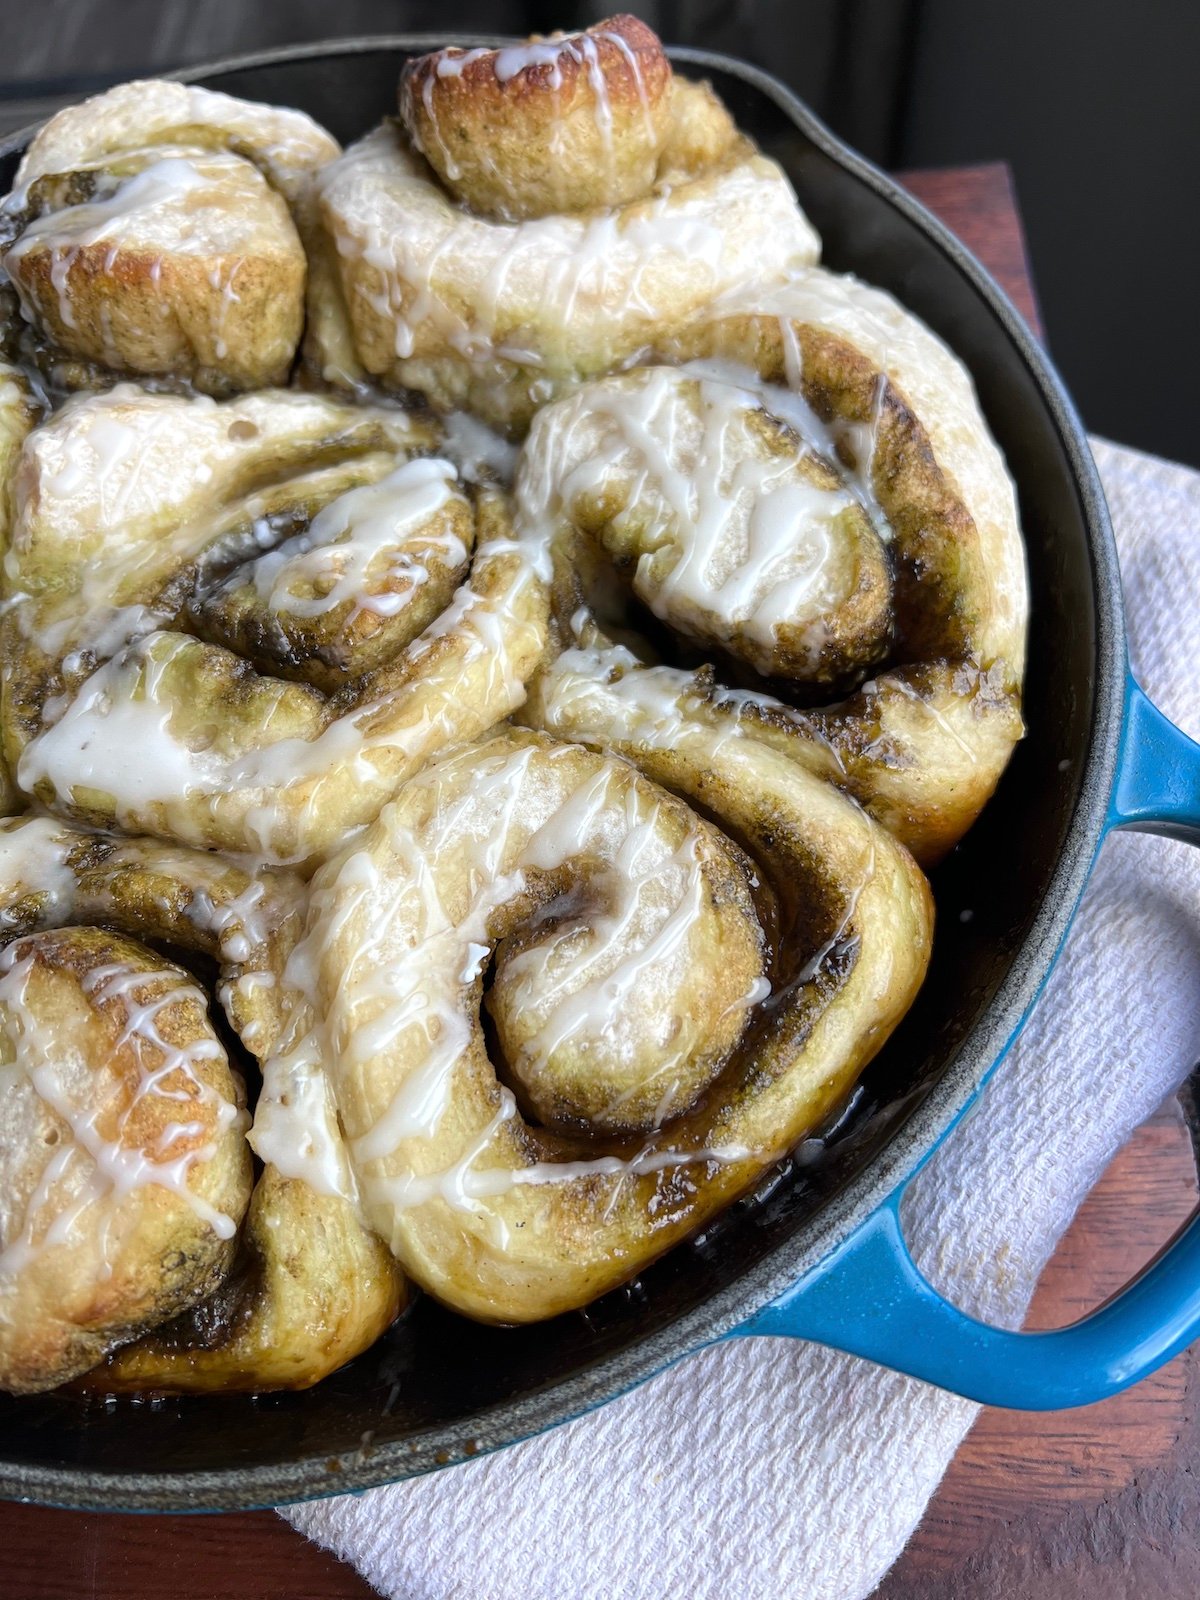
I can’t believe these sourdough matcha cinnamon rolls came out of my kitchen! Once you get your sourdough starter going, the sky is the limit on what you can make. In 2020 when the world was diving into sourdough breads, I made exactly one loaf, it didn’t turn out and I didn’t try again until this year. Matcha is a Japanese tea and can be found in most grocery stores. Look for ceremonial grade which is the best quality.
Determined to make my own sourdough bread, I didn’t give up when it took me THREE weeks to get my sourdough starter going. But when I finally did, I’ve had my starter ever since. Even hibernating it in the fridge for nearly three months in the summer when I didn’t want to heat up my kitchen. While these rolls are 13 Weight Watcher points, totally worth it for a once in a while treat.
Here are a few more tips to help you successfully create and maintain your sourdough starter:
1. Use a Digital Kitchen Scale
Accurate measurements are key to creating a balanced environment for the yeast and bacteria. Weigh your flour and water to ensure you’re feeding your starter with the right ratio. Generally, a 1:1:1 ratio by weight (starter: flour: water) is ideal for consistent results.
2. Filtered or Non-Chlorinated Water
Chlorine in tap water can inhibit the growth of wild yeast, so using filtered or dechlorinated water can help your starter thrive. If you don’t have filtered water, simply let your tap water sit out for 24 hours to allow the chlorine to evaporate.
3. Don’t Overfill Your Container
Your starter will expand as it ferments, especially once it’s really active. Choose a container that’s at least twice the volume of the initial mixture to give it room to grow. Otherwise, you may find it overflowing, which can be quite messy!
4. Know When It’s Ready
A good way to tell if your starter is ready for baking is the “float test.” Take a spoonful of your starter and drop it into a glass of water. If it floats, your starter is airy and active enough to bake with. This usually happens after 5-7 days of consistent feeding, though it can vary.
5. Keep it Loosely Covered
When fermenting your starter, keep the container loosely covered to allow air circulation while preventing dust or debris from getting in. A piece of cheesecloth, a coffee filter, or a loose-fitting lid works well. You want to trap warmth but still allow the natural yeasts from the air to enter.
6. Adjust Feeding Frequency Based on Activity
Once your starter becomes active, you may need to feed it more often, particularly if it’s warm in your kitchen. If you notice it starts to collapse and looks hungry (forms a lot of liquid on top, called “hooch”), it’s time to feed it again. This often means feeding every 12 hours instead of every 24. Because I don’t bake every day, once I have enough starter to bake a couple loaves, I simply put an air tight lid on it and store it in the fridge until I am ready to make more bread.
7. Use Discard Wisely
To keep your starter healthy, you’ll need to discard some of it during the first week, especially in the beginning stages. You can use this discard to make other recipes like pancakes, crackers, or even pizza dough—waste not, want not! Once your starter is established, discard can become a fun way to explore new recipes. UPDATED: I NEVER DISCARD NOW. I simply feed whatever starter I have with 100 grams of flour and 100 grams of water.
8. Be Patient with the Process
Developing a strong starter can take some time, especially depending on temperature and the natural yeasts present in your environment. If it seems slow at first, don’t get discouraged. Keep feeding and providing a warm environment—it can take 10-14 days to fully develop a robust starter.
9. Take Note of Smell and Bubbles
Your starter will naturally change in smell and consistency. It should develop a pleasant tangy or fruity aroma, and you should start seeing small bubbles forming after each feed. If it smells off (like rotten or too strongly of alcohol), or turns an unusual color (pink or orange), it’s best to start over.
10. Label and Track
It’s helpful to label the jar with the date and time of your last feed, especially in the beginning. Keeping notes about your feeding routine, room temperature, and activity will help you learn what works best for your starter and make adjustments accordingly.
Feel free to ask if you need any more details or troubleshooting tips—sourdough can be a learning experience, but it’s so rewarding once you get it right!
I started with one tablespoon of matcha – if you want a stronger flavor, feel free to add another tablespoon to the brown sugar mixture.
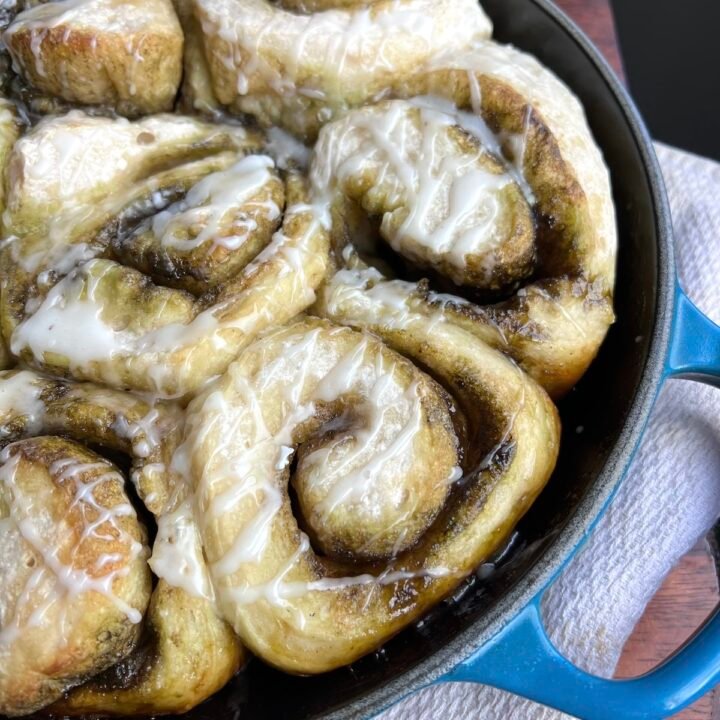
Sourdough Matcha Cinnamon Rolls
Another great way to use up sourdough other than baking a loaf of bread - cinnamon rolls! The matcha adds a unique flavor to these rolls that I think you'll love. Not a matcha fan? Leave it out.
Ingredients
- 350 grams water
- 10 grams salt
- 50 grams sourdough starter (see notes below)
- 500 grams flour
- 1/2 cup Splenda brown sugar
- 1 teaspoon matcha
- 1 tablespoon cinnamon
- 2 tablespoons butter, softened
- 4 tablespoons powdered sugar
- 1 teaspoon almond milk (or milk of choice)
Instructions
- Mix the water, salt, starter and flour together.
- Every 30 minutes, stretch and fold the dough. Here is a link to how to do that.
- After two hours, let the dough rise until doubled.
- Refrigerate dough for one hour.
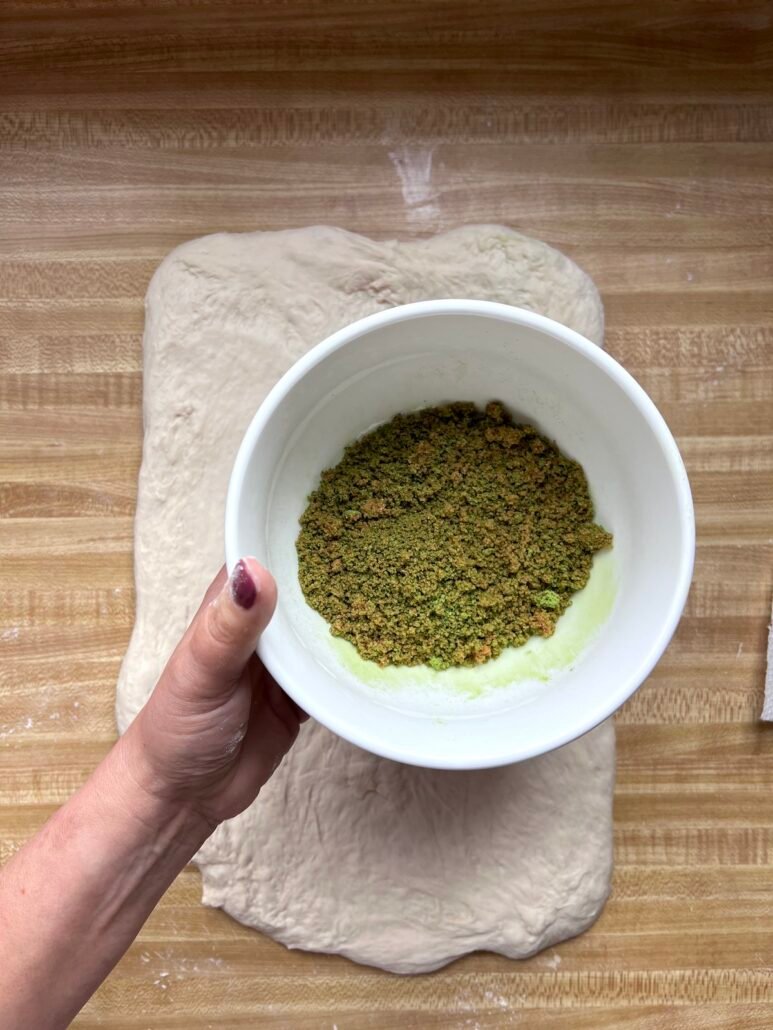
- Roll the dough out into a large rectangle, and spread the butter evenly, leaving a 1/2 inch border of dough.
- Mix the matcha and brown sugar together and sprinkle that over the butter.
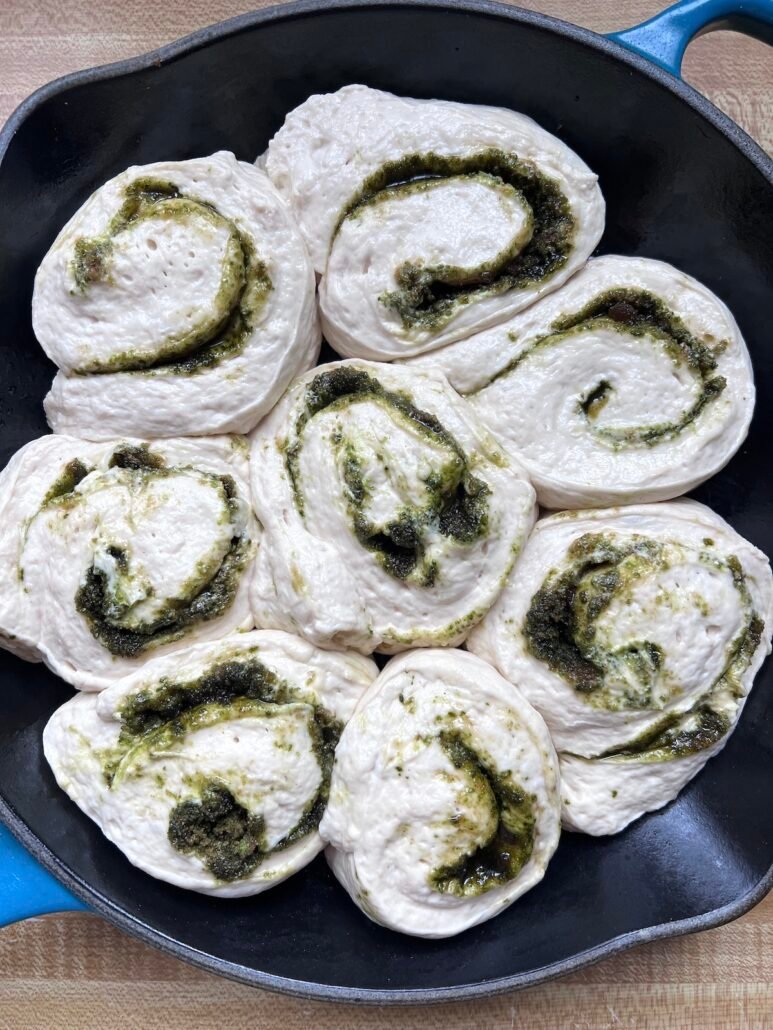
- Roll up lengthwise, using your fingers, pinch the seam.
- Cut into 8 portions. Place in an oven safe dish, and let rise another hour.
- Preheat oven to 375. Bake for 25-30 minutes, or until they temp at 200 degrees and are slightly browned.
- Let cool 20 minutes.
- Mix the powdered sugar and milk and drizzle over the rolls.
- Enjoy!
Notes
As of the date of this publication, each cinnamon roll is 13 WW points. Click here for the WW link. Note: After April 2024, you must open this link on your phone to track directly to your WW app - the website no longer supports recipes.
I've had my sourdough starter since February 2024. The recipe I used is from the Clever Carrot, however, I only use unbleached all purpose flour for both my starter and my breads.
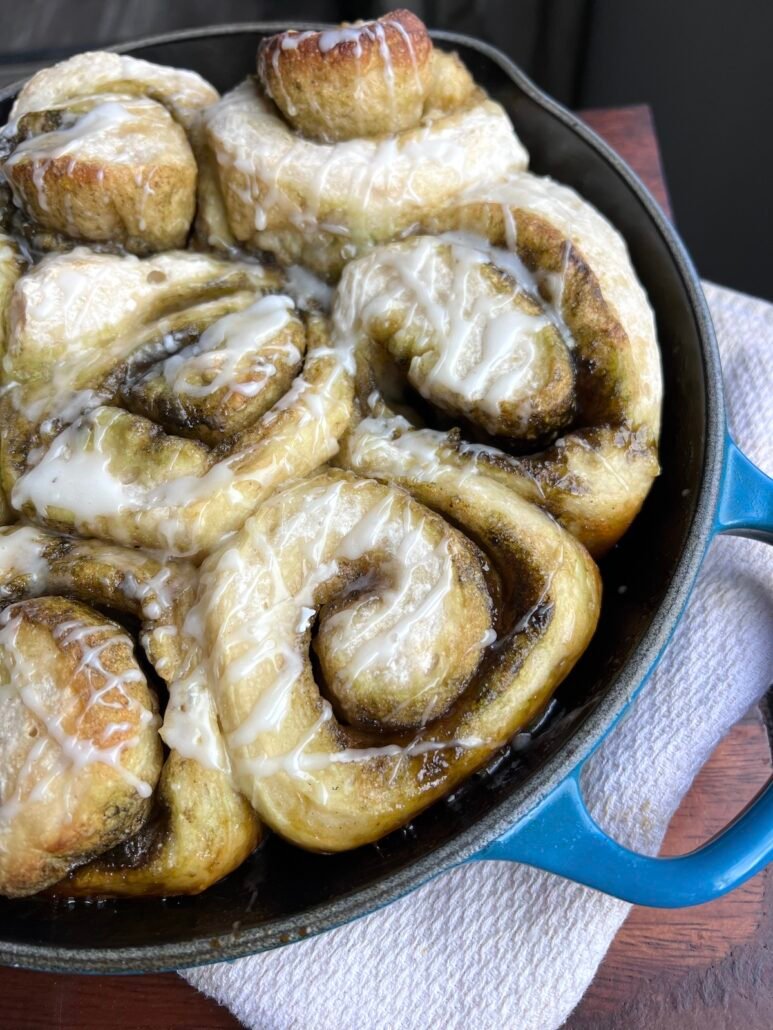
Let me know if you give these matcha cinnamon rolls a try!
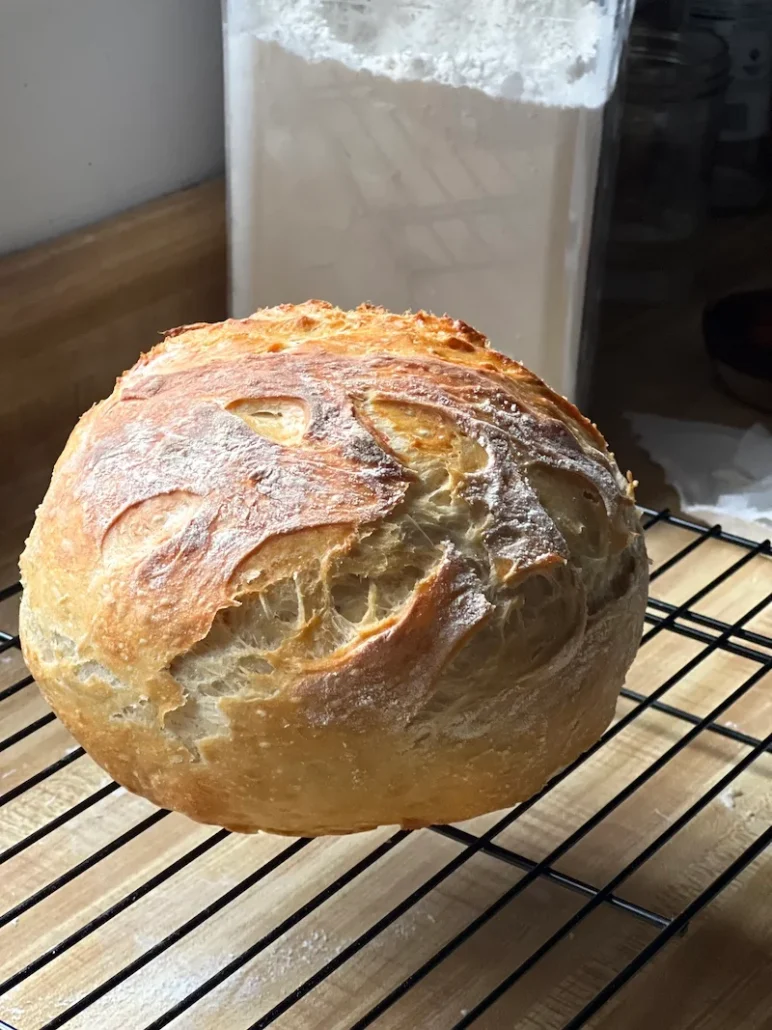
If you want to try your hand at sourdough and you think your starter isn’t strong enough, check out my Cheater Sourdough Recipe here.




So do i substitute matcha instead of the cinnamon? I do not see the matcha ingredient on the list.
So sorry about that! I added the teaspoon of matcha to the recipe – it’s mixed in with the brown sugar.