
Grocery prices seem to just keep going up and up these days, so I teamed up with Mariano’s to create Thanksgiving on a Budget.
Tips on Saving Money at the Grocery Store
- No matter what grocery store you shop at, sign up for their rewards card. I have already saved $607.74 cents so far this year using my Mariano’s card
- Clip coupons before you go to the grocery store. Some grocery stores have bonus coupons at the store, but you have to clip them on top of having your rewards card. Sometimes the internet is spotty at the grocery store, so I like to click my coupons on my laptop before I leave the house.
- Make your meal plan based on what’s on sale which is the best budget advice I can give. In making this Thanksgiving meal, chicken legs were on sale for $1.79, green beans were .99 a pound, tater tots were $1.99 a bag, cheese was $1.79 a bag, etc.
- Try to stick to your list – I know that’s hard sometimes, but try to avoid adding extra things into your cart.
- Buy just what you need. For me, even though buying a family package of chicken breasts might be more cost effective overall, I know I don’t use a lot of stuff that ends up in my freezer. So I will buy one chicken breast for $2.50, and know that I will eat all of it before it goes bad.
Have a Stocked Pantry
When we created this menu, we assume that everyone will have a stocked pantry, such as flour, salt, pepper and seasonings. Typically I restock my pantry about once a quarter, when canned goods are on sale for .79 cents a can. I’ll stock up on canned beans, canned tomatoes, chicken and beef broth, among other things.
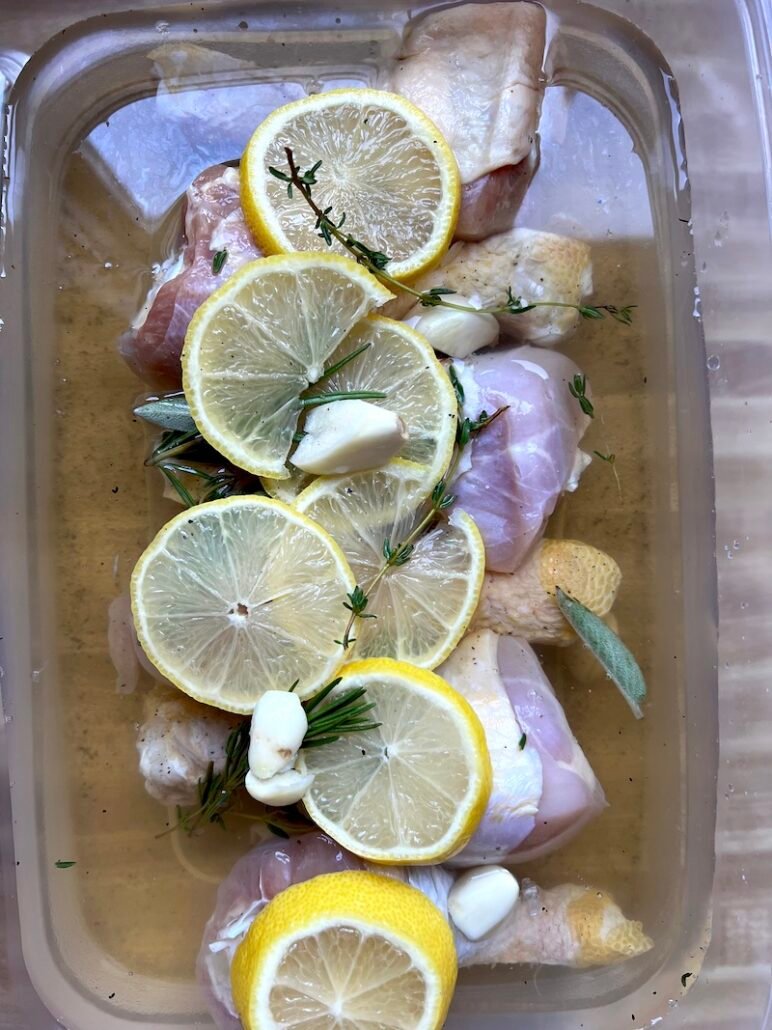
How to brine chicken legs
Bringing chicken helps keep the chicken moist and juicy after cooking. My recipe calls for brining for 12 hours, so this can be done at night. In the morning, add the chicken legs to a large bowl of cold water, and let them sit for 15 minutes. This will remove any excess salt. For seasonings, don’t just a prepared BBQ rub, because typically the first ingredients in those kinds of rubs is salt, and because we’ve brined the chicken with salt, the end result will be too salty. Chicken legs are the perfect protein on a budget.
Step By Step Instructions for Perfect Oven Roasted Chicken Legs
- create brine (recipe card below)
- brine the chicken for 12 hours
- remove from brine and soak for 15 minutes in cold water to remove any excess salt
- add chicken to a rack and refrigerate 12 hours – this helps dry out the skin to make it crispy
- add seasonings and oil and coat chicken
- bake at 375 for 45 minutes, or until the chicken reaches an internal temperature of 165
 |
 |
 |
 |
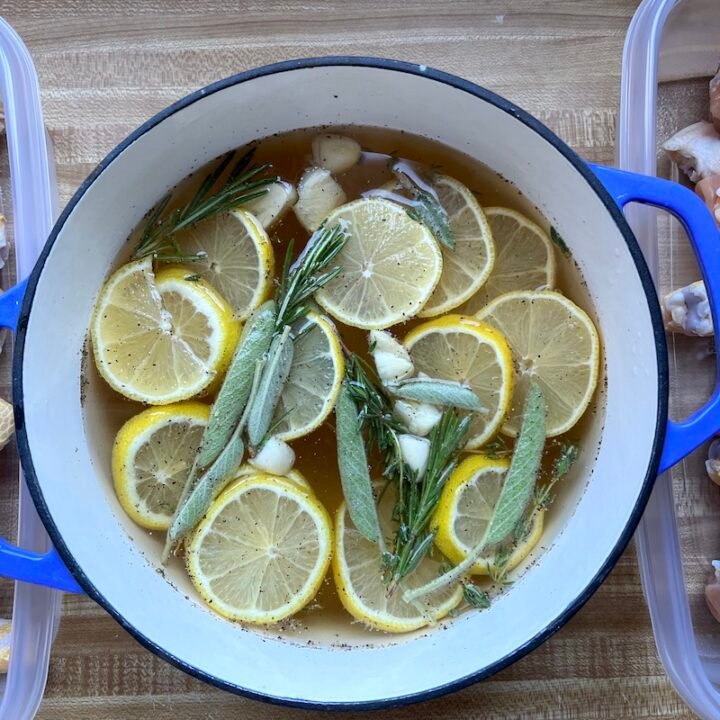
Chicken or Turkey Brine
Brining chicken or turkey helps the meat stay incredibly moist. It takes a bit of time to brine, and then dry the skin, but it's worth it!
Ingredients
- 8 cups water
- 1/2 cup vinegar (I used white wine vinegar)
- 1/3 cup salt
- 5 cloves garlic
- 2 lemons, sliced
- 1/4 cup brown sugar
- 1 teaspoon black pepper
- 4 sprigs rosemary
- 4 sprigs thyme
- 2 sage leaves
Instructions
- In a large stock pot, bring everything to a boil. Remove from heat and make sure the sugar and salt has dissolved.
- Cool completely.
- In a large container (I used two containers for my chicken legs) divide the brine between the two containers, making sure the chicken legs are submerged.
- Brine for 12 hours.
- Remove from brine and add chicken legs to a large bowl of water and let sit for 15 minutes to remove any excess salt.
- Dry each leg completely with paper towels. Add to a rack above a baking sheet and let sit in the refrigerator 12 hours to let the skin dry out.
- Move on to the next recipe card for cooking instructions.

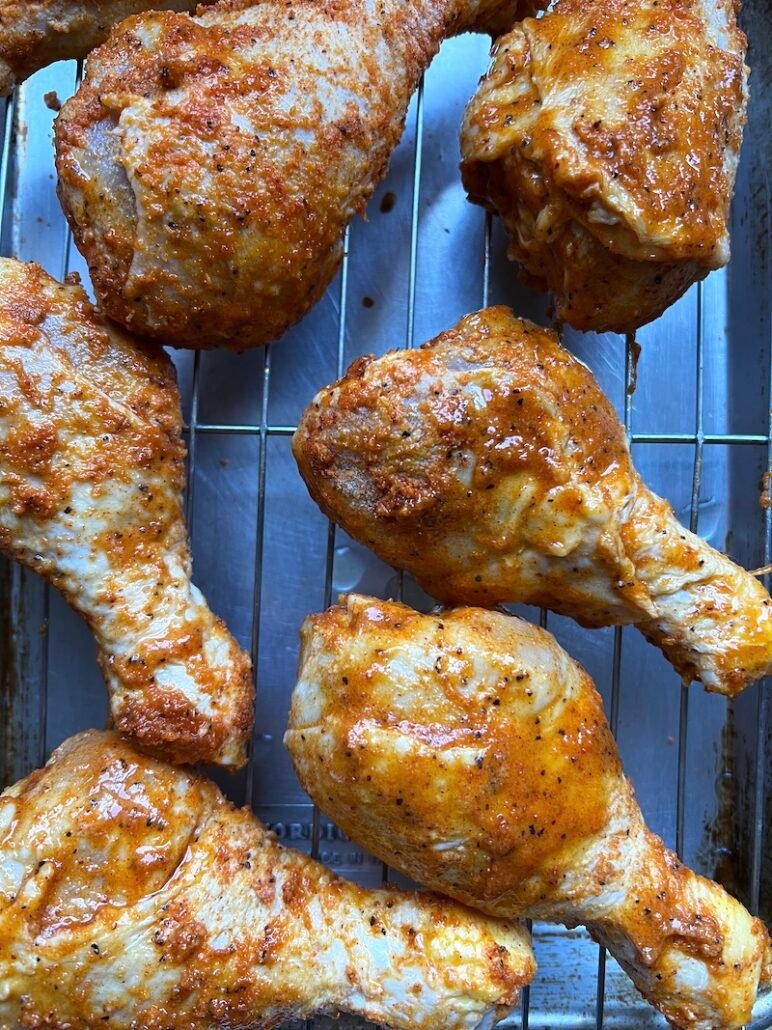
Oven Baked Brined Chicken Legs
These brined chicken legs are a great way to stay on budget this Thanksgiving holiday season. I was able to buy 16 chicken legs at Mariano's Market for $8.88.
Ingredients
- 16 chicken legs
- 3 tablespoons olive oil
- 2 tablespoons flour
- 2 tablespoons baking powder
- 1 tablespoon paprika
- 1 tablespoon onion powder
- 1 tablespoon garlic powder
Instructions
- Following brining instructions in the recipe card above.
- In a large bowl, add the oil and toss the chicken in the oil.
- In a small bowl, mix the flour, baking powder and seasonings together.
- Toss over chicken and toss to coat.
- Stretch the skin over the chicken.
- Bake at 375 for 45 minutes, or until the chicken reaches an internal temperature of 165.
Step by Step Instructions for Tater Tot Casserole
This is Hannah’s signature dish and I look forward to it every year. You can switch out the cream of mushroom for cream of celery if you don’t like mushrooms.
- In a large bowl mix the tater tots, cream of mushroom soup, cheddar cheese soup, milk, seasonings and 1 cup of shredded cheese
- Stir until combined.
- Add to a large casserole dish, top with additional 1 cup cheese
- Bake at 400 degrees for 40 minutes, broil for last 5 minutes or until cheese is super melty
- We aren’t going to talk about the WW points on this one – it’s one side dish I enjoy twice a year at most
 |
 |
 |
 |

Tater Tot Casserole
This is a dish Hannah makes every holiday season and I look forward to it every year. Let's not talk about the WW points, but enjoy this dish this holiday. It's so good!
Ingredients
- 2 28 ounces bags of tater tots (don't need to be defrosted)
- 1 can cheddar cheese soup (10.5 ounces)
- 1 can cream of mushroom soup (10.5 ounces)
- 1/2 cup milk
- 2 cups cheddar cheese, divided
- 1 teaspoon garlic powder
- 1 teaspoon onion powder
- 1 teaspoon dried parsley
Instructions
- Heat oven to 400 degrees.
- Mix everything together, saving 1 cup of cheddar cheese. Mix until well combined and place in a large casserole dish sprayed with avocado oil spray.
- Top with remaining cup of cheese and bake for 45 minutes. Optional: broil the last 5 minutes on high.
- Enjoy!
Nutrition Information
Yield 8 Serving Size 1Amount Per Serving Calories 636Total Fat 36gSaturated Fat 13gTrans Fat 0gUnsaturated Fat 20gCholesterol 49mgSodium 1717mgCarbohydrates 66gFiber 5gSugar 4gProtein 17g
Step by Step Instructions for Parmesan Green Beans
- trim the ends off of the green beans
- add them to a microwave safe dish and microwave for 5 minutes, or just until fork tender – it depends on your microwave – I did this in two batches
- add green beans to an oven safe skillet
- toss with oil and seasonings and Parmesan cheese and broil until the cheese is melty
- add chili crisp for a bit of spice
 |
 |

Parmesan Green Beans
This easy side dish is simple, yet so delicious. The chili crisp is optional but I think it makes this dish.
Ingredients
- 2 pounds green beans, stems removed
- 2 teaspoons olive oil
- 1 teaspoon garlic powder
- 1 teaspoon onion powder
- 1/2 teaspoon salt
- 1/4 teaspoon black pepper
- 2 teaspoons minced garlic
- 1/2 cup shaved Parmesan
- 2 teaspoons chili crisp
Instructions
- In a large microwave safe bowl, add the green beans and cook for five minutes. Remove from stove.
- Add in the oil, garlic powder, onion powder, salt, pepper and garlic and toss the green beans to coat.
- Add parmesan cheese over the top and broil for 5 minutes, or until the cheese is melty.
- Garnish with chili crisp if you like a bit of spice.
Notes
As of the date of this publication, each serving is 2 WW points. Click here for the WW tracker.
Step by Step Instructions for Pumpkin Pie
We used the recipe on the side of the pumpkin pie can. However, we made the filling two pies, instead of one. We also made each pie 6 servings instead of 8, because if you are like me, you only eat pumpkin pie once or twice a year, and we deserve a bigger slice. 😂. If you are looking for more of a bite sized dessert, check out our Pumpkin Pie Bites.
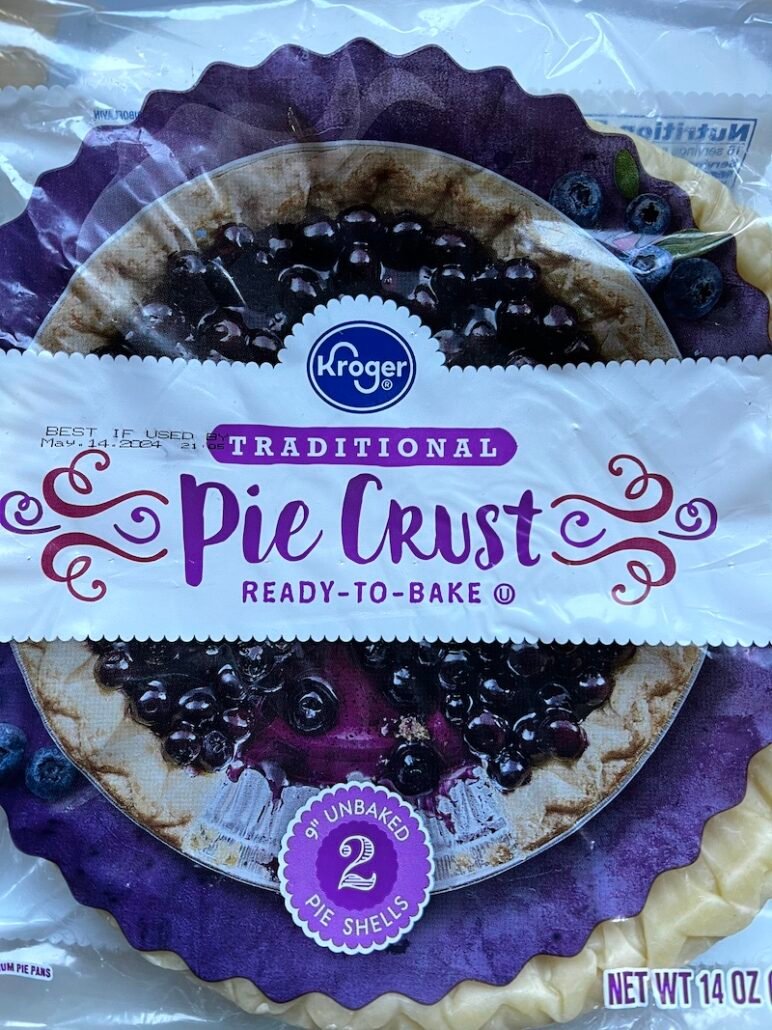
- buy store bought pie crusts – we bought Kroger brand for $2.50, so each pie crust was only $1.25 – we defrosted the crusts for 30 minutes
- mix the sugar, and seasonings with the eggs and whisk
- gradually stir in pumpkin and evaporated milk
- divide into two pie crusts
- bake at 425 the first 15 minutes, then reduce the heat and bake 30-45 minutes longer, until a knife comes out clean in the center
- cool completely before serving – can be made days ahead and stored in the refrigerator before serving
 |
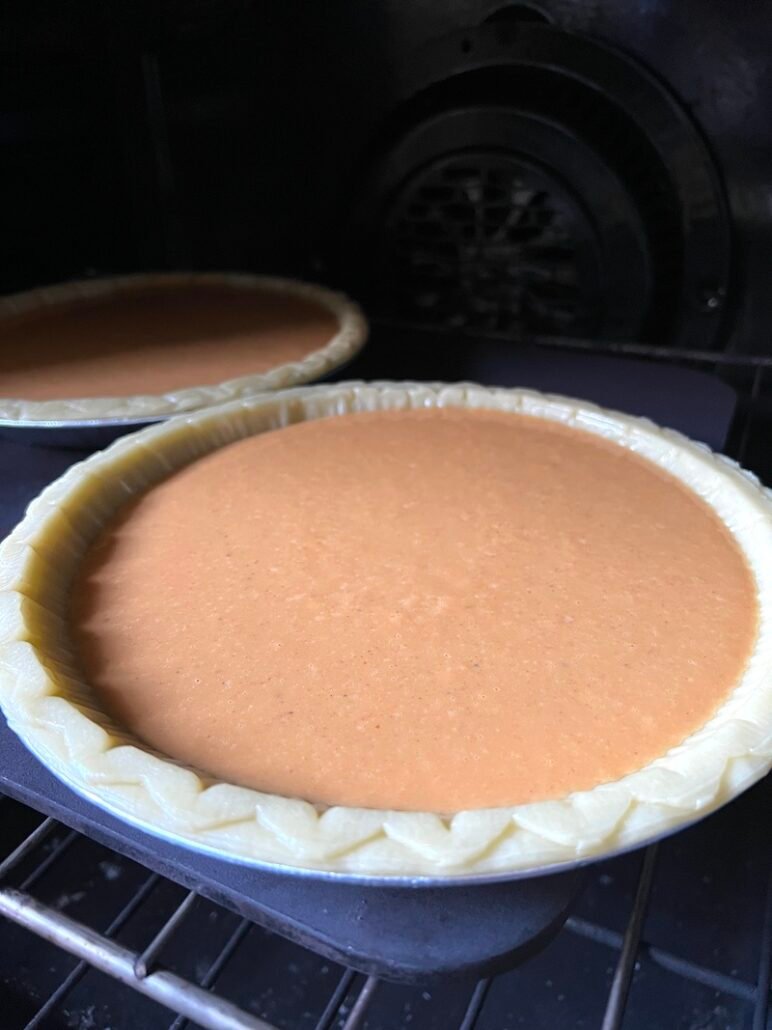 |

Simple Pumpkin Pie
This is the recipe on the side of the can of Libby's Pumpkin Pie. The only thing I did differently is make the filling into two pies, using shallow frozen shells from Mariano's. Each pie shell was only $1.25 - nice!
Ingredients
- 3/4 cup sugar
- 1 teaspoon cinnamon
- 1/2 teaspoon salt
- 1/2 teaspoon ground ginger
- 1/2 teaspoon nutmeg
- 2 large eggs
- 1 can (15 ounces ) canned pumpkin
- 1 can (12 ounces) evaporated milk (I used fat free
- 2 unbaked 9 inch shallow pie shells
Instructions
- Preheat the oven to 425.
- Mix the sugar, cinnamon, salt, ginger and nutmet in a small bowl. Beat the eggs in a large bowl. Stir in the pumpkin and sugar-spice mixture. Gradually stir in the evaporated milk
- Divide pie filling into two pie shells.
- Bake at 425 for 15 minutes. Reduce heat to 450 and cook an additional 30-45 minutes. When a knife is inserted near the center and comes out clean, it is done.
- Cool completely before slicing. Store in the refrigerator until ready to serve.
Nutrition Information
Yield 12 Serving Size 1Amount Per Serving Calories 114Total Fat 2gSaturated Fat 1gTrans Fat 0gUnsaturated Fat 1gCholesterol 33mgSodium 131mgCarbohydrates 21gFiber 1gSugar 16gProtein 3g
We hope this helps you if you are looking for ways to save money this Thanksgiving. The breakdown of our dinner is below:
- $2.99 – herbs
- $8.88 – chicken legs
- $2.27 – green beans
- $1.67 – evaporated milk
- $2.50 – pie crusts
- $1.99 – cheddar cheese
- $1.00 – cool whip
- $3.34 – canned soups
- $1.49 – eggs
- $3.98 – tater tots
- $2.50 – pumpkin
- $3.49 – shaved Parmesan cheese
- $1.00 – lemons
Total cost of our budget meal is $37.10 or $4.64 per person.
We hope you enjoyed this Thanksgiving on a Budget roundup!
However you celebrate Thanksgiving, I hope you are surrounded by family, friends and good food. And take a moment to be thankful for what you do have, and not what you don’t have – it makes you appreciate all the little things in life every day!


